I got a gift of firebricks from my friend a while back, and this is the first chance I've had to put them to use in my shop. Prior to now, I've been using a Mapp gas Benzomatic torch for annealing and heat treating, which is far from optimal. Using the firebricks, I put together a very simple forge (in the spirit of Wayne Goddard's one brick wonder). Basically, I placed one brick flat, then used the sides of two bricks to form a chamber about 1", maybe 1 1/4" wide. Then I laid another brick on top to hold them in place and form a roof, and set another brick down flat behind, with a last standing on its side to direct the hot gas flowing through out to the sides and up.
Just using the Benzomatic, it got hot FAST.
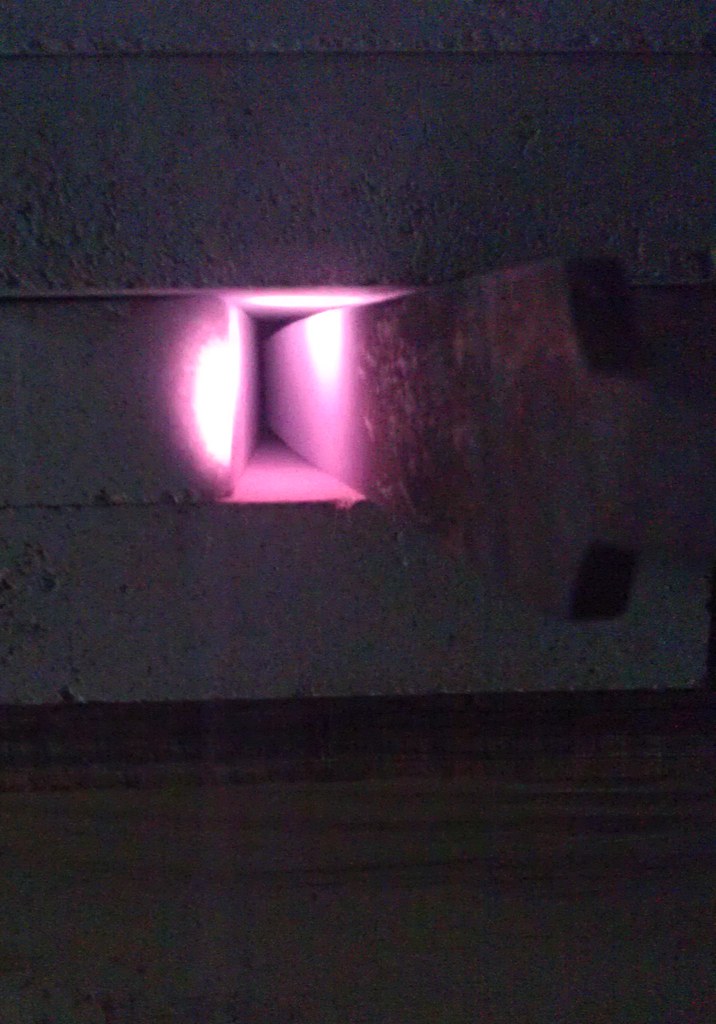
Here's how it looked during my heat soaks before annealing:
With torch on

Looking into the forge
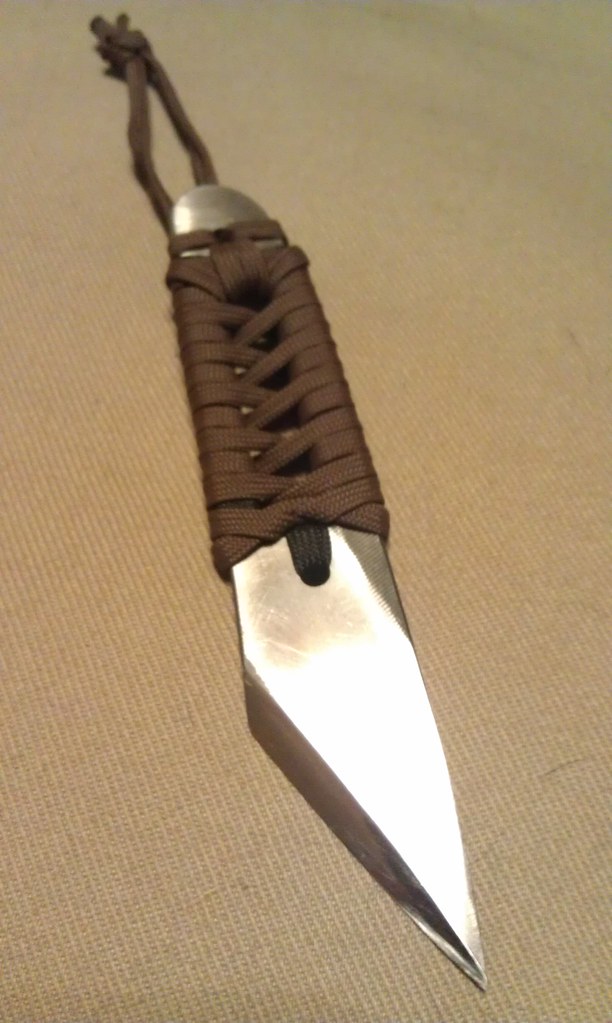
The blade removed for photo-op
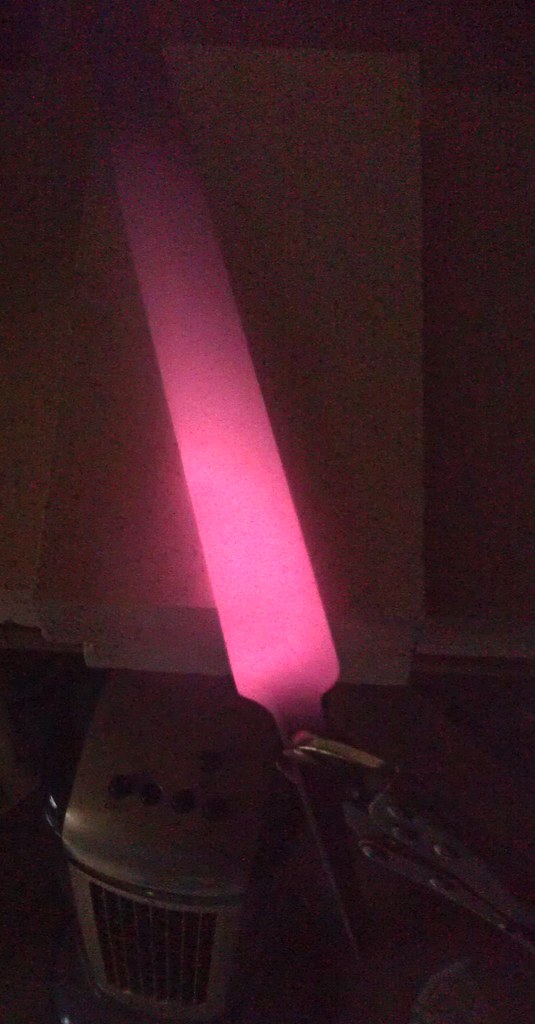
In that last, I removed the blade quickly and snapped a photo, and then put it back in the forge. I'm really happy to be able to get a relatively large area heated to critical with just a benzomatic. I've already purchased hoses and a burner for a more permanent setup, but haven't picked up a propane tank yet. I'll also note... it doesn't look that pink in person, it's much more of a bright orange, something must be off using my cell phone camera.
After annealing, I really got into the zone with cutting out and profiling the blade, drilling holes for the eventual cord wrap, and cutting out the inside of the handle, and I didn't even think to take pictures of the process. By the time I remembered, I was already in the heat soak for hardening (probably because I was reminded of taking the photos during the annealing process). Here's another photo of what it looked like:

Right after quenching in oil, this is the blade profile
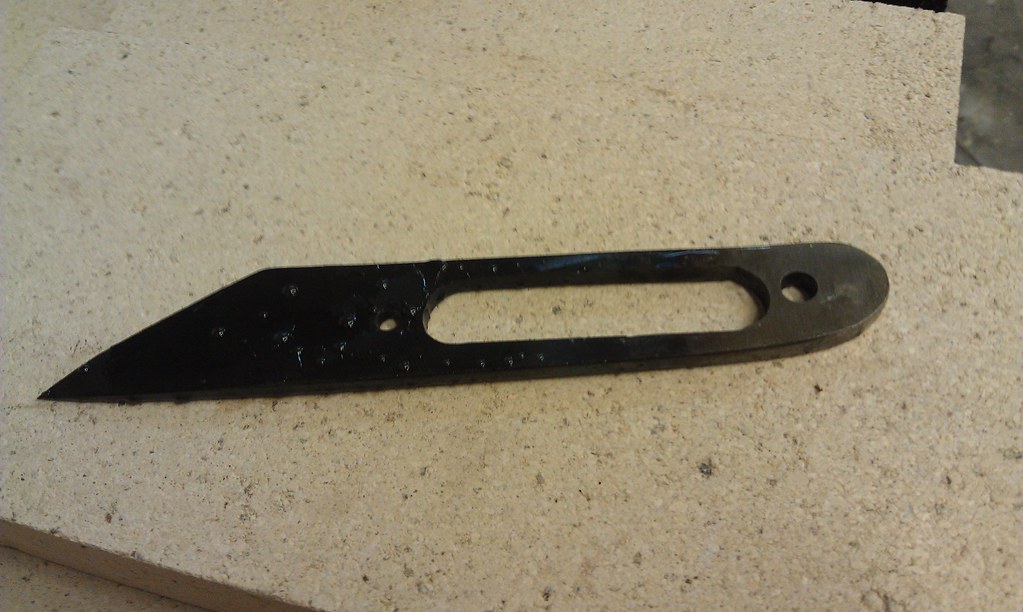
Sorry for neglecting to include anything for scale.

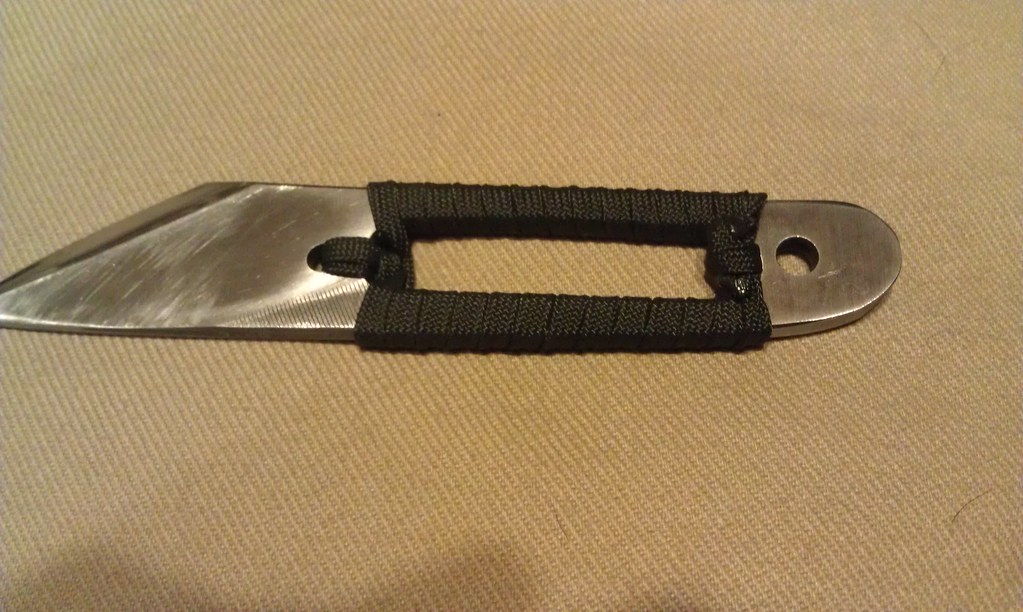
Here's the blade polished and sharpened. The secondary bevel was polished and sharpened to 2000 grit on wet or dry sandpaper on top of glass.
I cleaned the blade, and did a base wrap using black paracord sheath. You can see here, during polishing, I left the file marks on a small visible portion of the blade's flat, just as a reminder of its origins.
After the base wrap, I played around with more paracord sheath, and ended up with the following pattern.

I'm not sure how much I like it, I may pull it off and do the crossing cords on every wrap, or something else entirely.
Here's the final blade
Let me know what you think!
No comments:
Post a Comment